
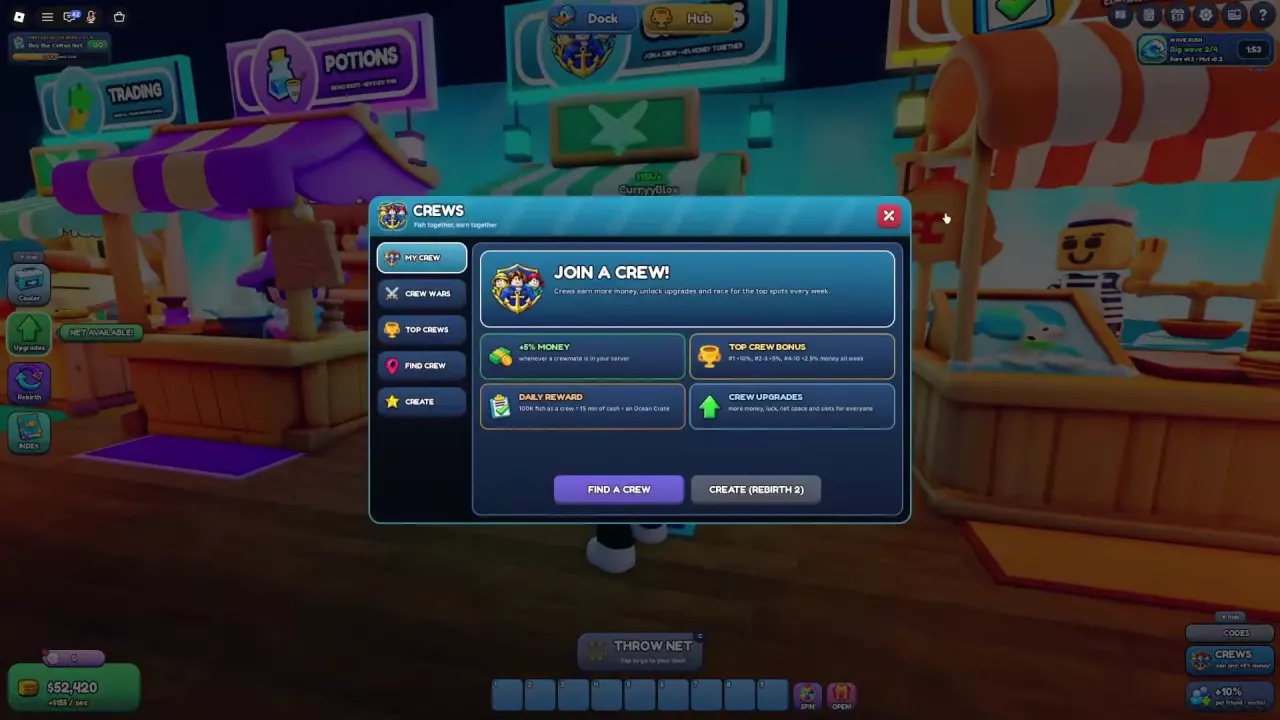
Net A Fish Crews: Entry, Shared Bonuses and Rewards
Find a Crew in Net A Fish, check the Rebirth requirement for creation, and learn about shared upgrades, daily rewards and weekly bonuses.
Last updated:
Trading lets you exchange fish with other players in Net A Fish. Check your partner’s Rebirth count first, then decide whether the offered fish improves your collection or your showcase income.
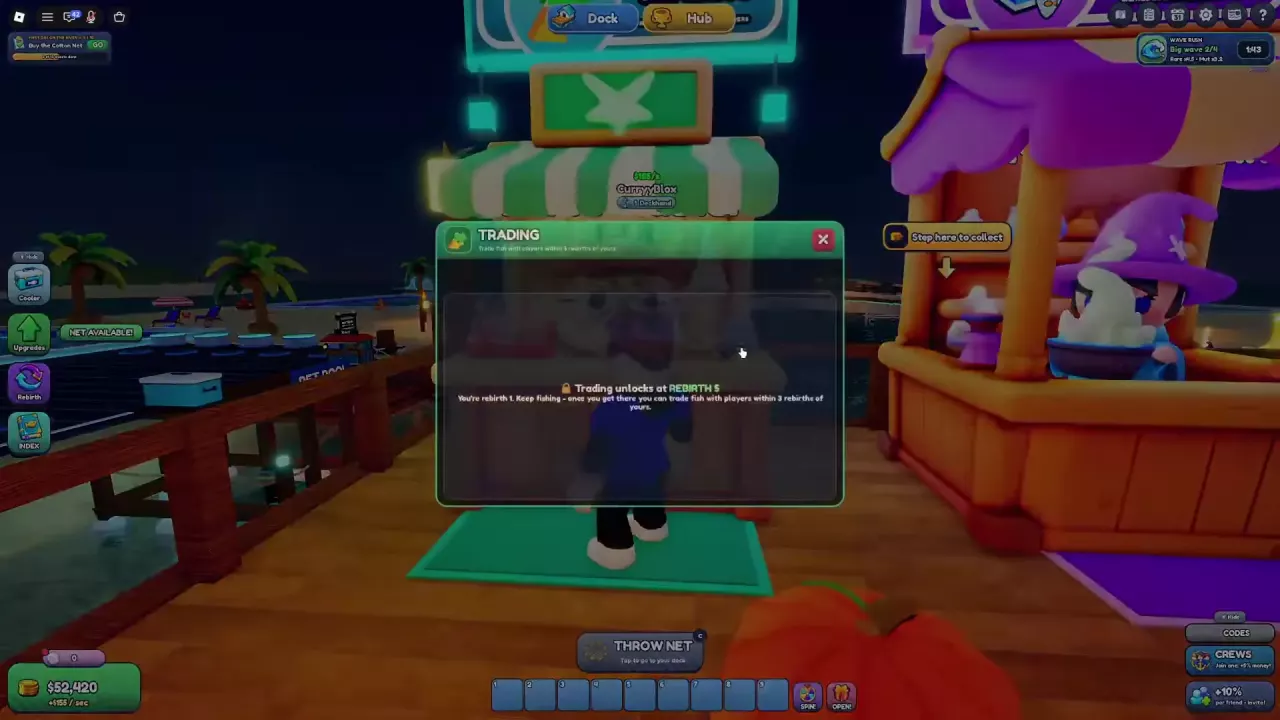
Both players need at least Rebirth 5, and the absolute difference between their Rebirth counts must be 3 or less. Reaching the unlock does not make every player an eligible partner.
If you are at Rebirth 5, your eligible partners are at Rebirth 5, 6, 7, or 8. A Rebirth 4 player has not unlocked Trading, even though they are only one Rebirth away from you. A Rebirth 9 player has unlocked it, but is four Rebirths away and falls outside your range.
If Trading is locked because you are below Rebirth 5, follow the Rebirth requirements and unlocks guide to progress toward the unlock.
Choose your goal before judging an offer:
Open Cooler from the left-side button, or press E at your Fish Cooler. Switch the sorting option to $/s to compare earnings, then open individual details where available.
| What to compare | How it helps you choose |
|---|---|
| Species and rarity | Identify the fish and whether it fits your collection goal. |
| Mutation | Identify the variant, but do not use its label alone to rank income. |
| Size and weight | Distinguish individuals of the same species. |
| Individual income under matching configurations | Compare earnings without mixing different income bonuses or setups. |
| Placement gain and the fish you would give up | Judge the effect on your lineup, rather than treating an incoming fish’s full income as an automatic increase. |
A normal fish can earn more than a mutated individual of the same species. For an income trade, favor the individual that improves your setup after accounting for what you surrender. If the incoming fish replaces an occupied showcase slot, account for the displaced fish’s income too.
Keep the meaning of each reading clear: a fish’s $/s is its income rate, while a card labeled “+…/s if placed” describes a placement gain. The base’s total income and cash waiting on a Collect pad are different readings. See the showcase income guide for income bonuses and display management, or the Cooler guide for inventory controls.
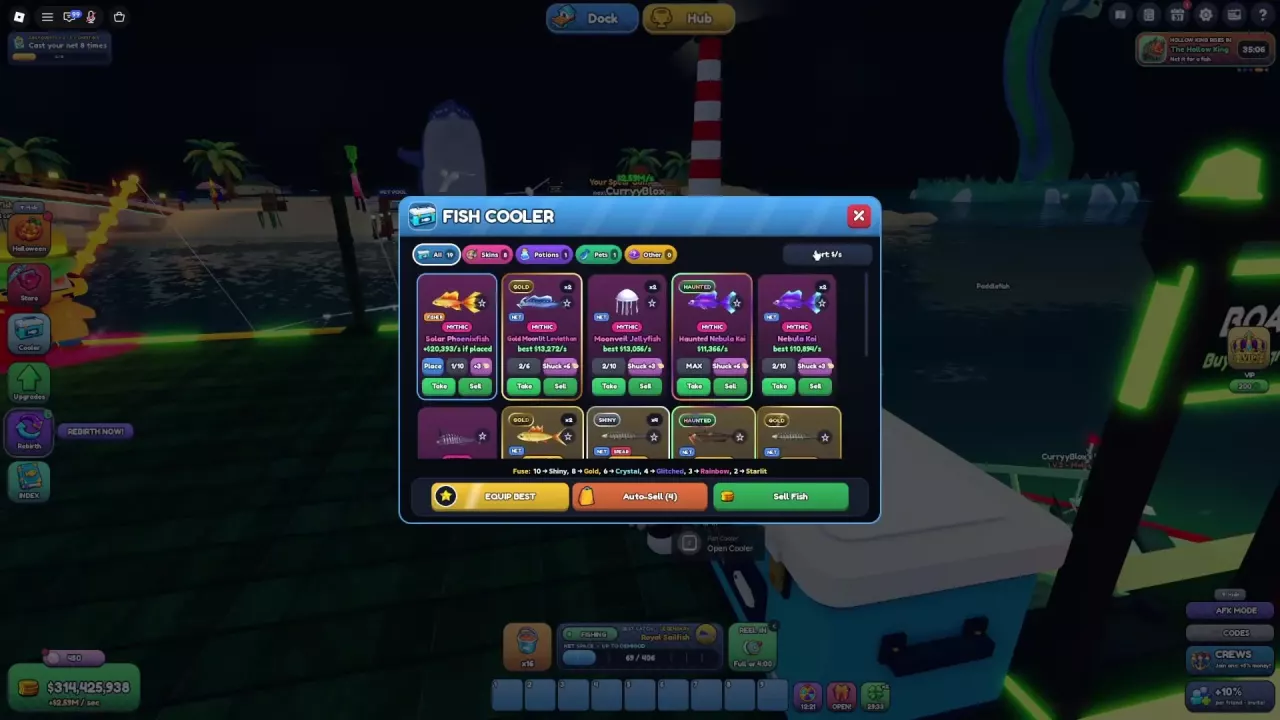
These four Demigod Stormshell Archelon individuals had different size, weight, and income readings within the same post-Rebirth configuration:
| Size | Weight | Income in this configuration |
|---|---|---|
| 1.05 | 5,811.9 lb | $47.13M/s |
| 1.03 | 5,435.6 lb | $45.08M/s |
| 1.03 | 5,385.1 lb | $44.8M/s |
| 0.97 | 4,517.4 lb | $39.84M/s |
For income within this setup, the 1.05-size individual is the strongest of the four. Even the two fish displaying size 1.03 have different weights and earnings, so the displayed size alone is not enough to choose between them. Read the individual income as well.
These are individual values in one configuration, not fixed earnings for every Stormshell Archelon. Use them to understand why checking the exact fish matters. Showcase income measures cash production; it is not a trade price, trading currency, or fixed fish-for-fish exchange rate.
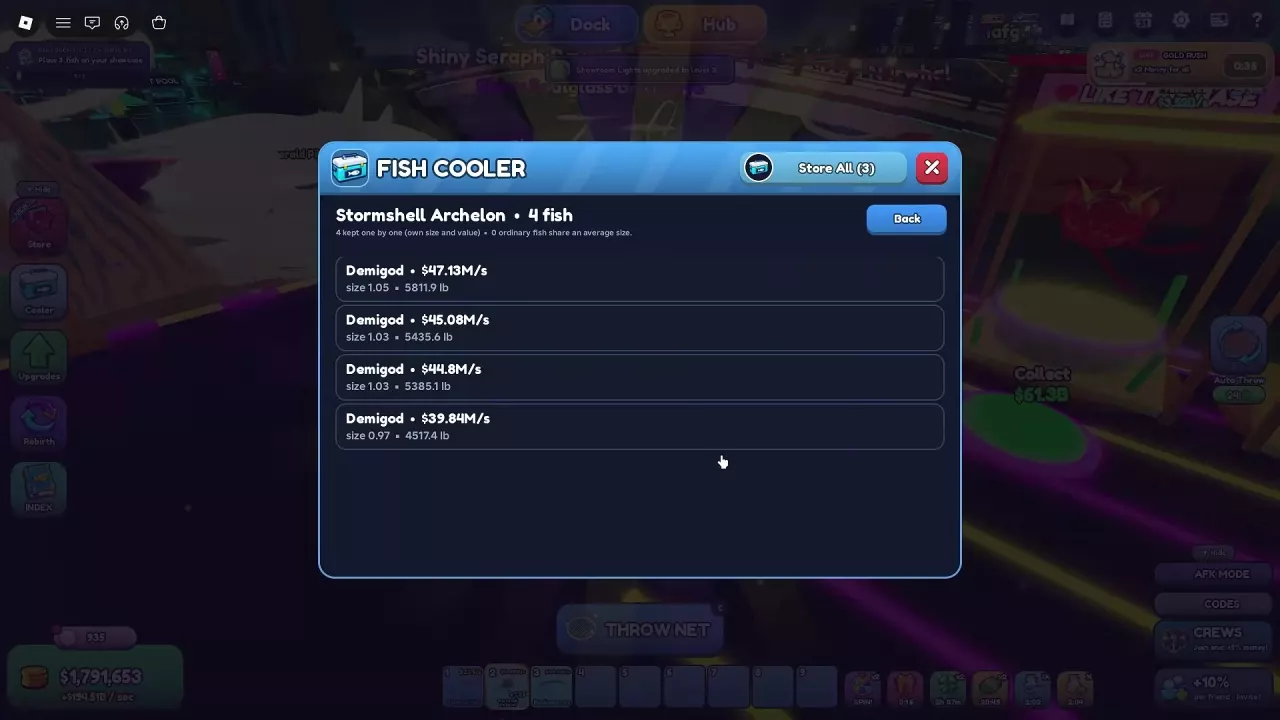
Find a Crew in Net A Fish, check the Rebirth requirement for creation, and learn about shared upgrades, daily rewards and weekly bonuses.
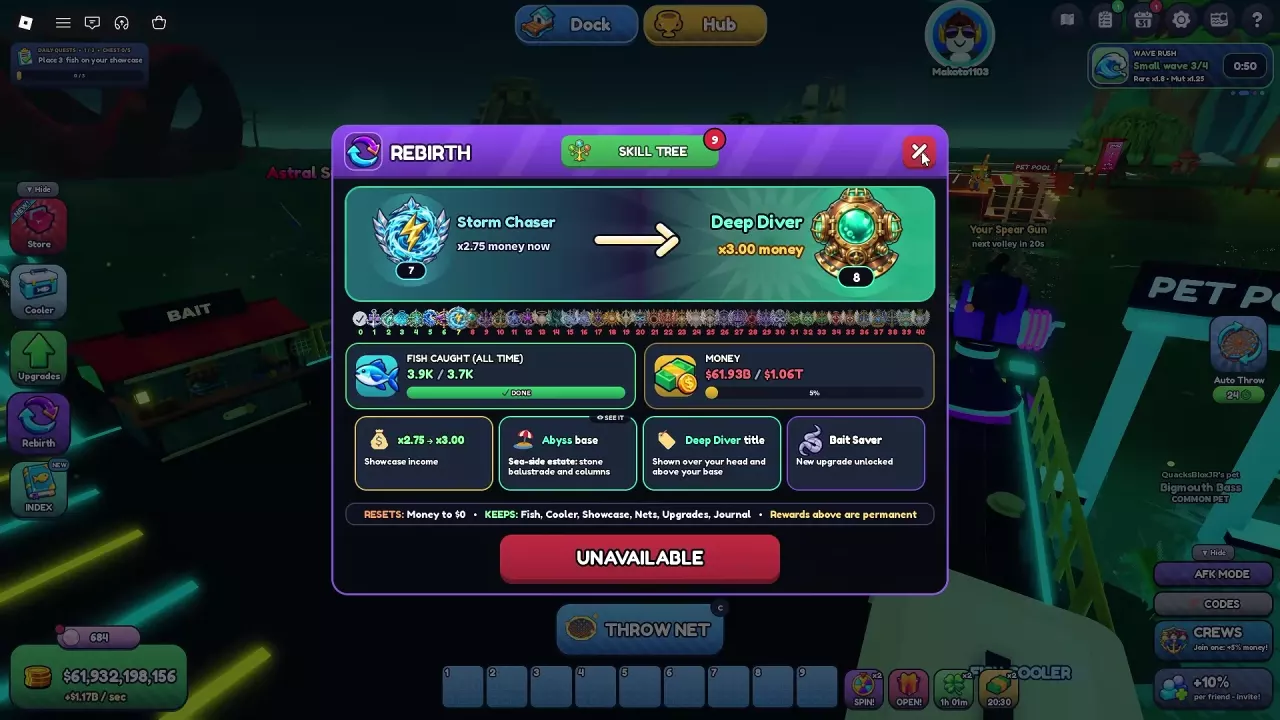
Find Net A Fish Rebirth requirements, permanent rewards and unlocks. Learn what resets, what you keep, and how to prepare your cash before confirming.
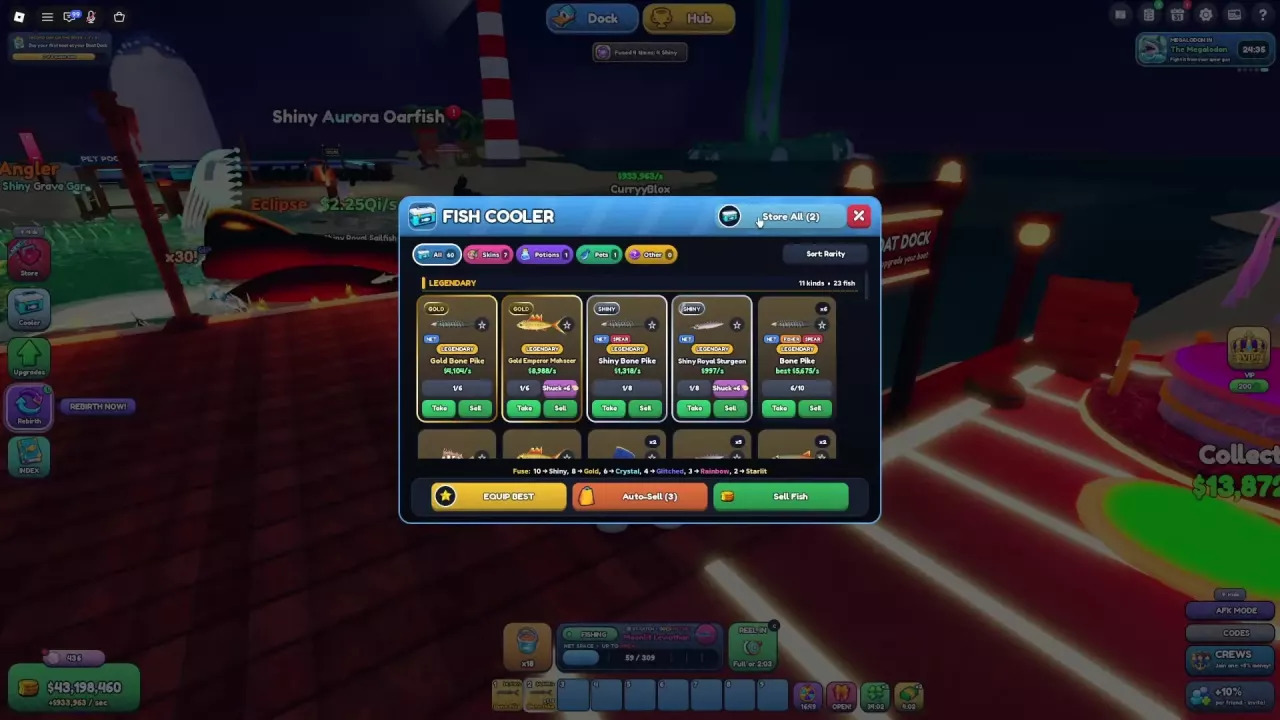
Manage your Net A Fish Cooler: sort catches, store carried fish, use Equip Best, sell surplus fish, and set Auto-Sell to keep fusion materials.
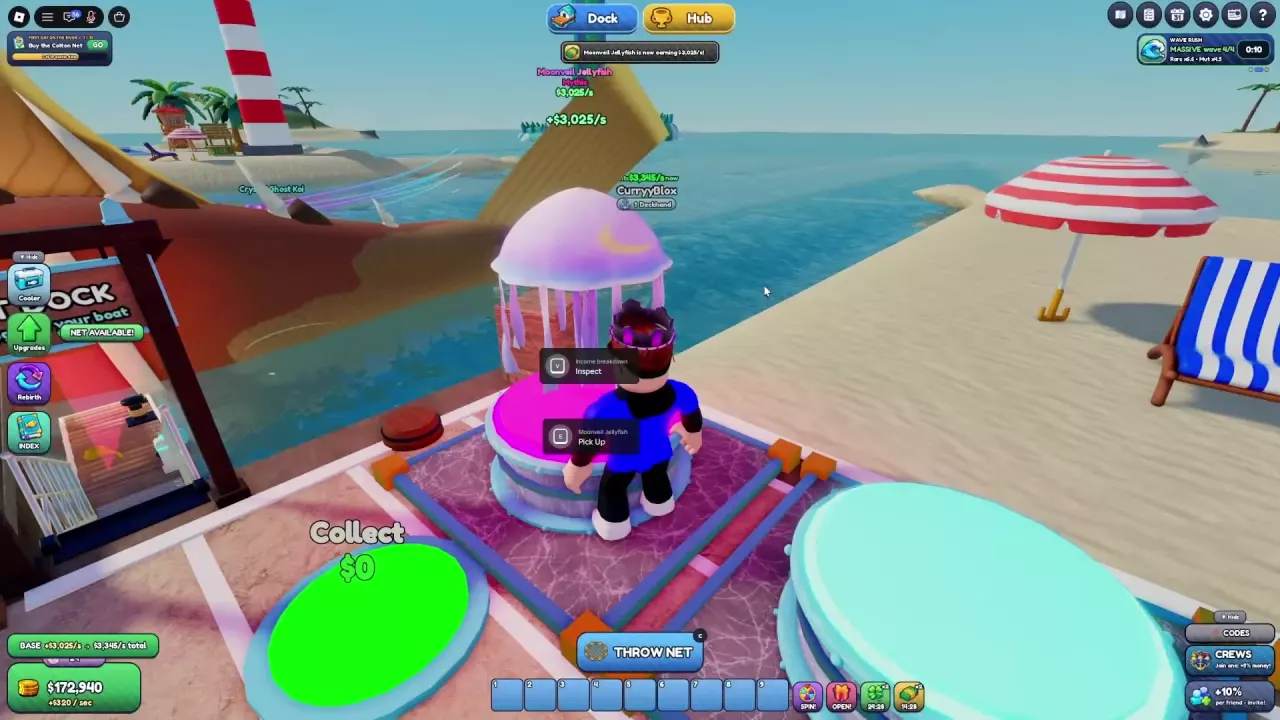
Make more money in Net A Fish: fill showcases, compare fish income, collect cash, and choose upgrades that improve active play and offline earnings.
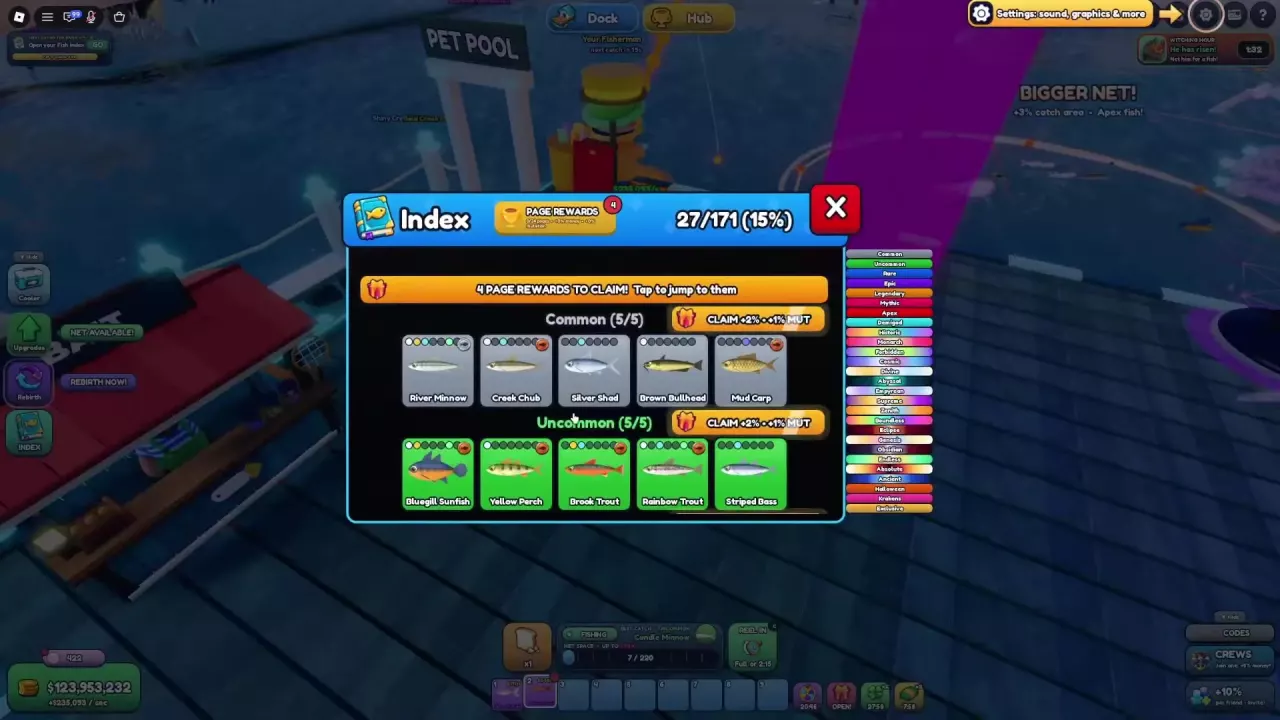
Search the Net A Fish fish list by name and rarity. Find net requirements, fill collection gaps, claim permanent Index rewards and build species mastery.
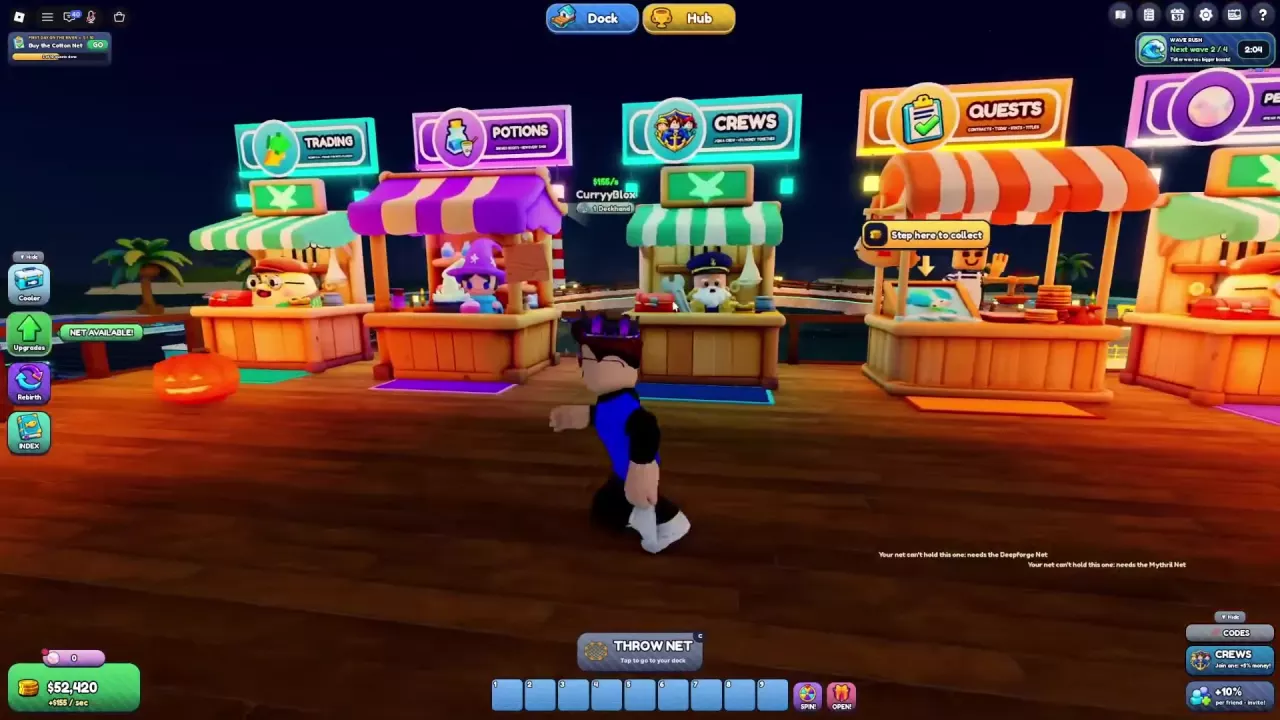
Find Net A Fish Dock and Hub facilities, travel between them, and unlock the Jungle Swamp and Frozen Glacier environments.