Net A Fish Locations: Dock, Hub and World Unlocks
Find Net A Fish Dock and Hub facilities, travel between them, and unlock the Jungle Swamp and Frozen Glacier environments.
Last updated:
Start by turning your first catch into steady showcase income. That cash funds better nets and helpers, while Rebirth keeps your fishing setup and adds permanent progression bonuses.
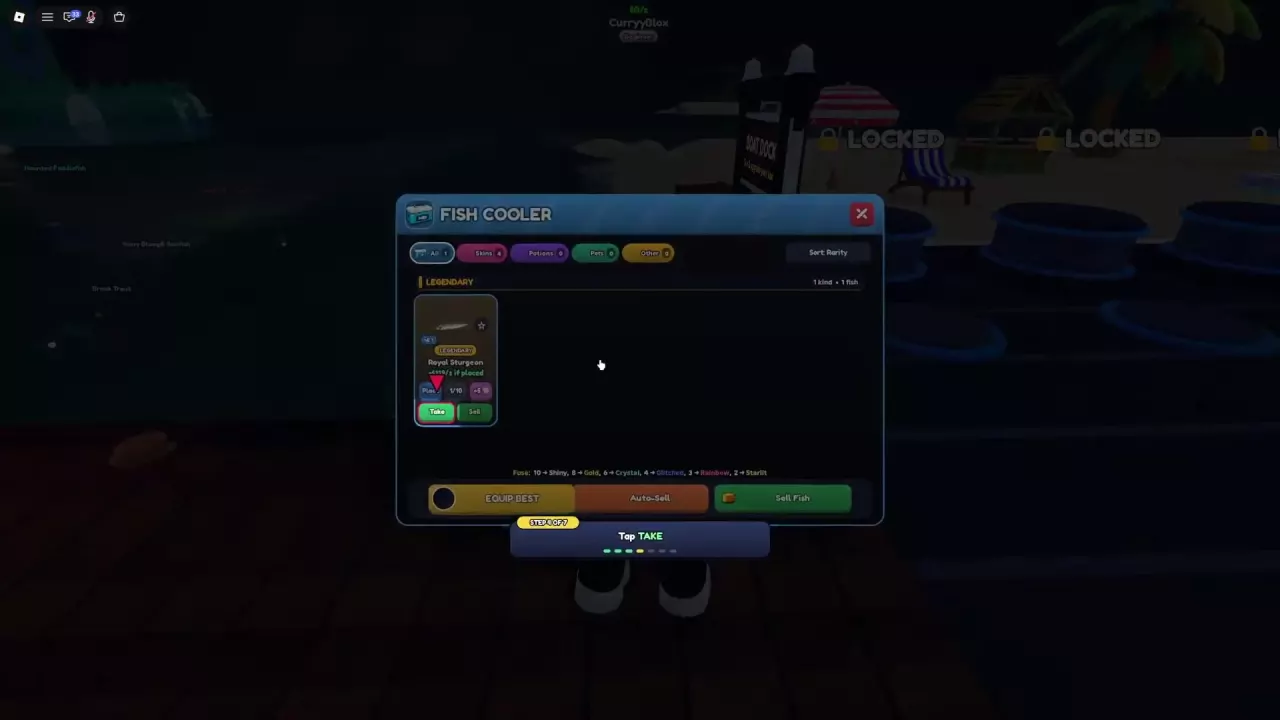
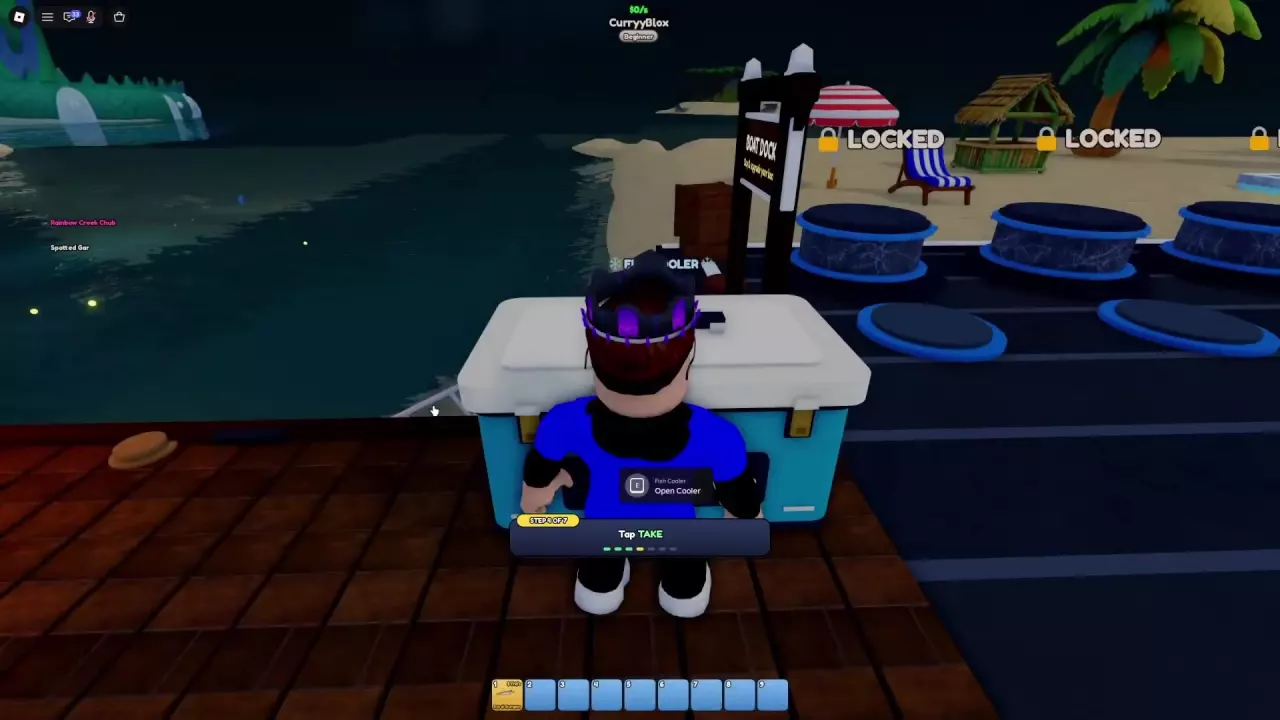
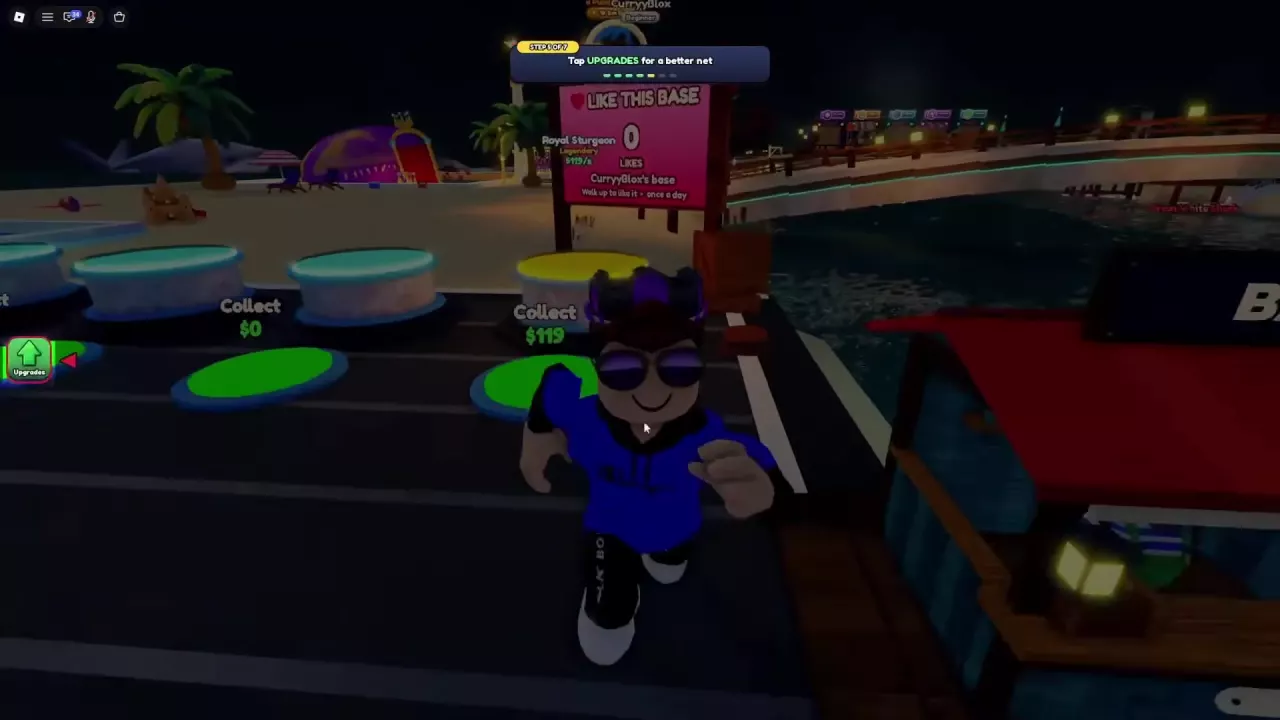
The fish's $/s label is its income rate; the amount above the Collect pad is cash waiting to be claimed. A fish sitting in the Cooler does not fill a showcase, so complete the placement step before waiting for display income.
The tutorial's Legendary Royal Sturgeon is a special opening catch. For ordinary fishing, follow the net's UP TO rarity limit: Twine Net retains Common fish, while Cotton Net reaches Uncommon. Seeing a rarer fish in the water does not mean your current net can keep it.
Once this loop is working, keep casting and fill your other unlocked displays. See the fishing controls and catch-limit guide for more on net status and retrieval.
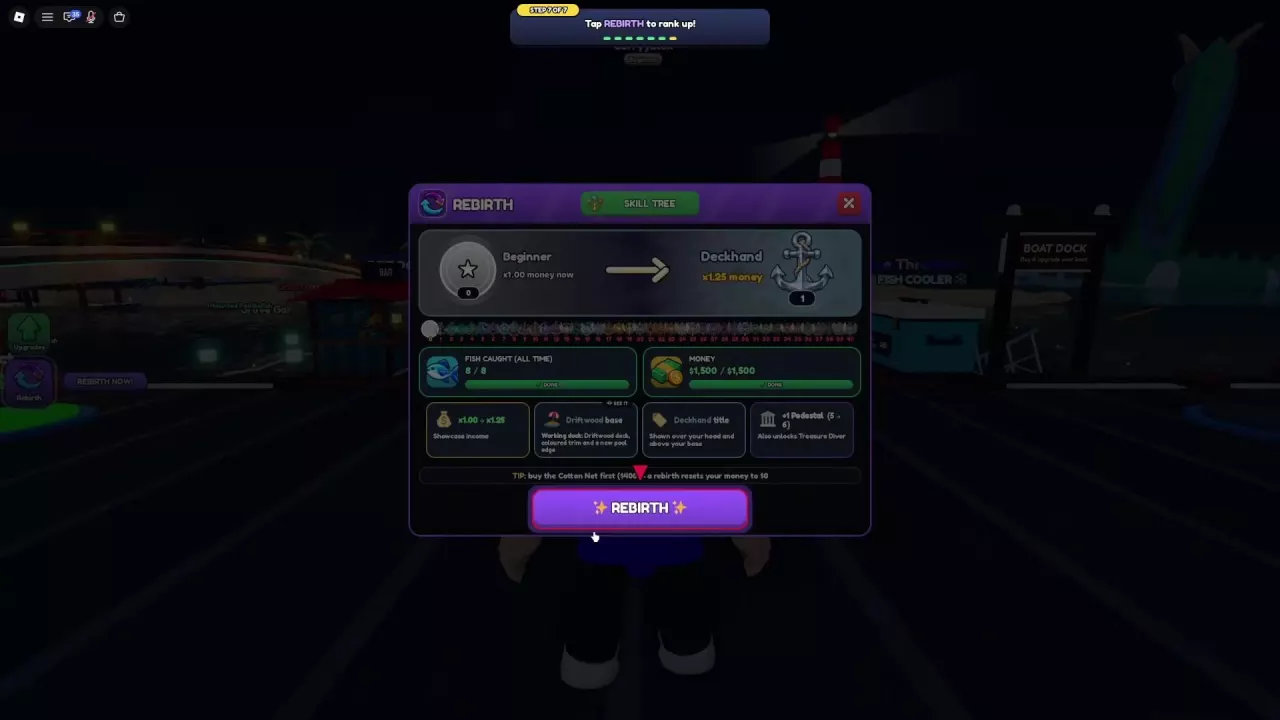
Rebirth resets cash to $0, but keeps your Fish, Cooler, Showcase, Nets, Upgrades, and Journal. Pearls also remain. Your existing display fish let you rebuild cash without restarting your collection.
Deckhand raises the showcase income multiplier from ×1.00 to ×1.25, increases your showcase count from 5 to 6, and unlocks Boat access and Treasure Diver. Skill bonuses are permanent, too.
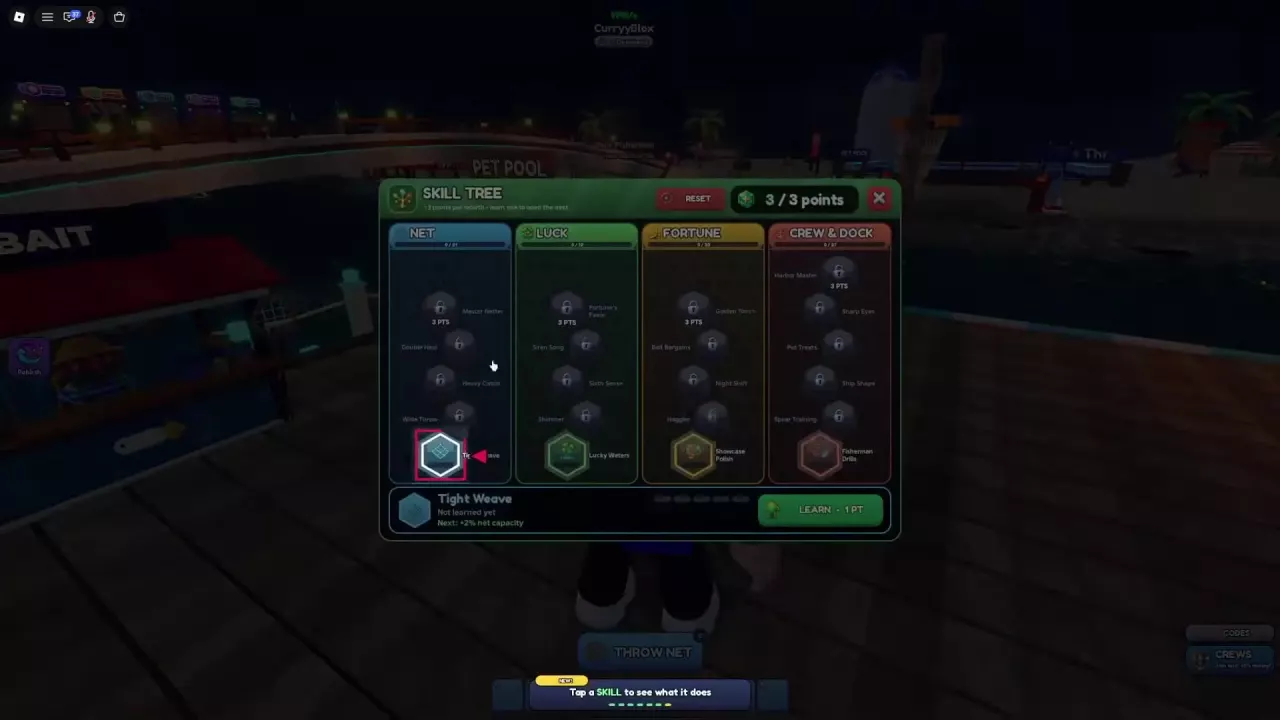
For later purchases, use the net prices and unlock requirements. The Rebirth guide covers later ranks, while Skill Tree builds help you spend points for your next goal.
After the tutorial, choose purchases by what is stopping your next goal.
| What is slowing you down? | Best next move | Why it helps |
|---|---|---|
| Fish escape with a stronger-net requirement | Advance through Nets toward the required catch tier | Capacity alone does not raise a net's rarity ceiling. Buy the preceding nets required by the sequence. |
| The net fills before you are ready to retrieve it | Increase capacity through a larger net or a capacity upgrade | More space lets the net retain more during a cast. Watch NET SPACE to identify this problem. |
| Cash builds too slowly | Fill empty showcases and replace weaker earners; consider Showroom Lights | Better displayed fish and showcase income upgrades improve the cash feeding your next purchase. Compare current placement income rather than names alone. |
| Cash is ready, but the Rebirth catch counter is short | Keep casting and let available helpers fish while you play | More money cannot substitute for the all-time catch target. Helpers add catches alongside your manual net. |
After a valuable catch, revisit your display setup. Equip Best can apply a stronger available arrangement; if it says your best fish are already displayed, repeatedly pressing it will not improve the fish themselves. Look for better catches, fusion opportunities, or income upgrades instead. The money and showcase guide explains those choices.
Before a later Rebirth, use excess cash on useful nets or upgrades that carry through the reset, applying the held-cash rule above. If the next rank requires more catches, equipment that helps you catch faster is usually more useful than simply waiting with a large balance. See helpers and online AFK setup when manual casting becomes the limiting factor.
You can build your income, buy nets, complete Rebirths, and obtain pets through gameplay. Use these options as they become relevant:
Game passes such as Auto Throw and Auto Collect add convenience. Without them, cast your net manually and step onto Collect pads while your available helpers continue their own fishing cycles.
Finish the tutorial at Tutorial Complete, then select BEGIN JOURNEY. The completion cash amount is shown in that window; examples include $10,000 and $7,776, so use the amount offered in your own completion window when planning the next purchase.
Follow the current starter tracker through these early goals:
| Starter stage | Objectives to work toward | Where to act |
|---|---|---|
| Day 1 | Display 3 fish and open Fish Index | Fill three showcases; select INDEX on the left. |
| Day 2 | Catch 200 fish and buy your first boat | Keep fishing. After Rebirth 1, visit Boat Dock, press E at the boat slot, and buy the $25,000 Rowboat. |
| Day 3 | Upgrade your boat 3 times | Return to the boat upgrade menu and follow the current objective counter. |
Finishing Day 1 advances the tracker to Day 2. THIRD DAY COMPLETE marks the end of the starter quests. Continue with the quest and reward tracks once those opening goals are finished.
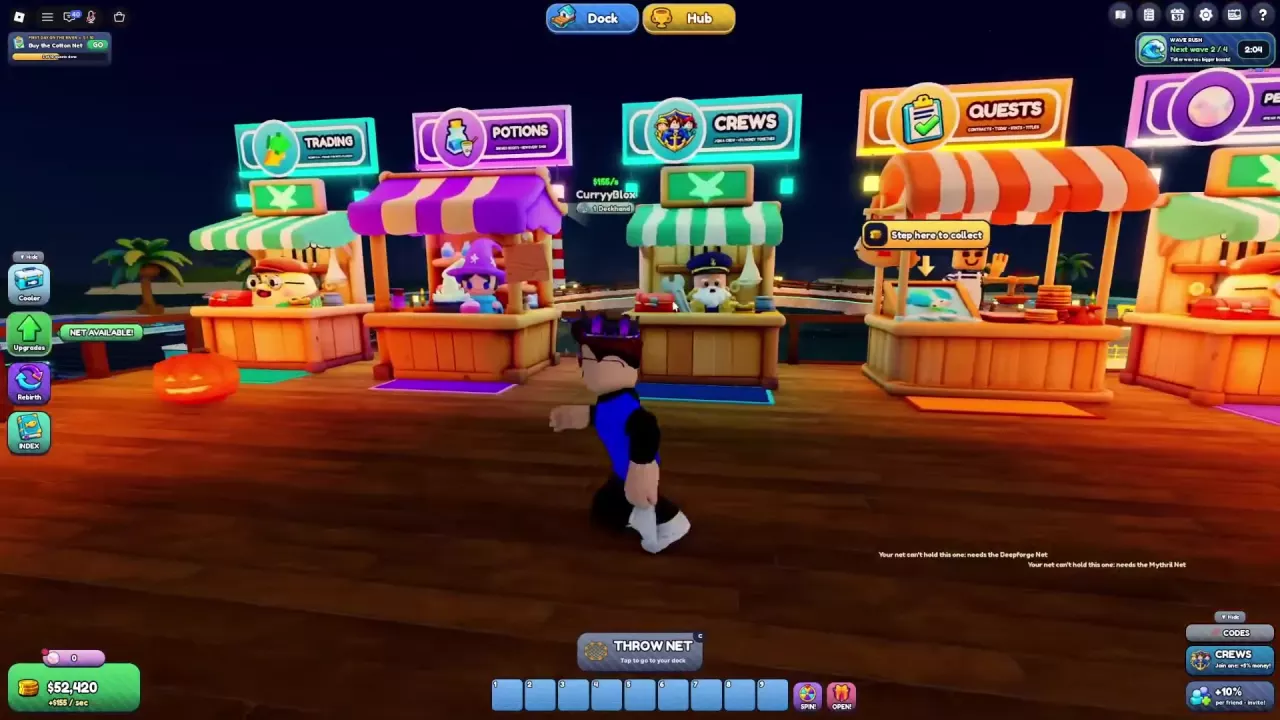
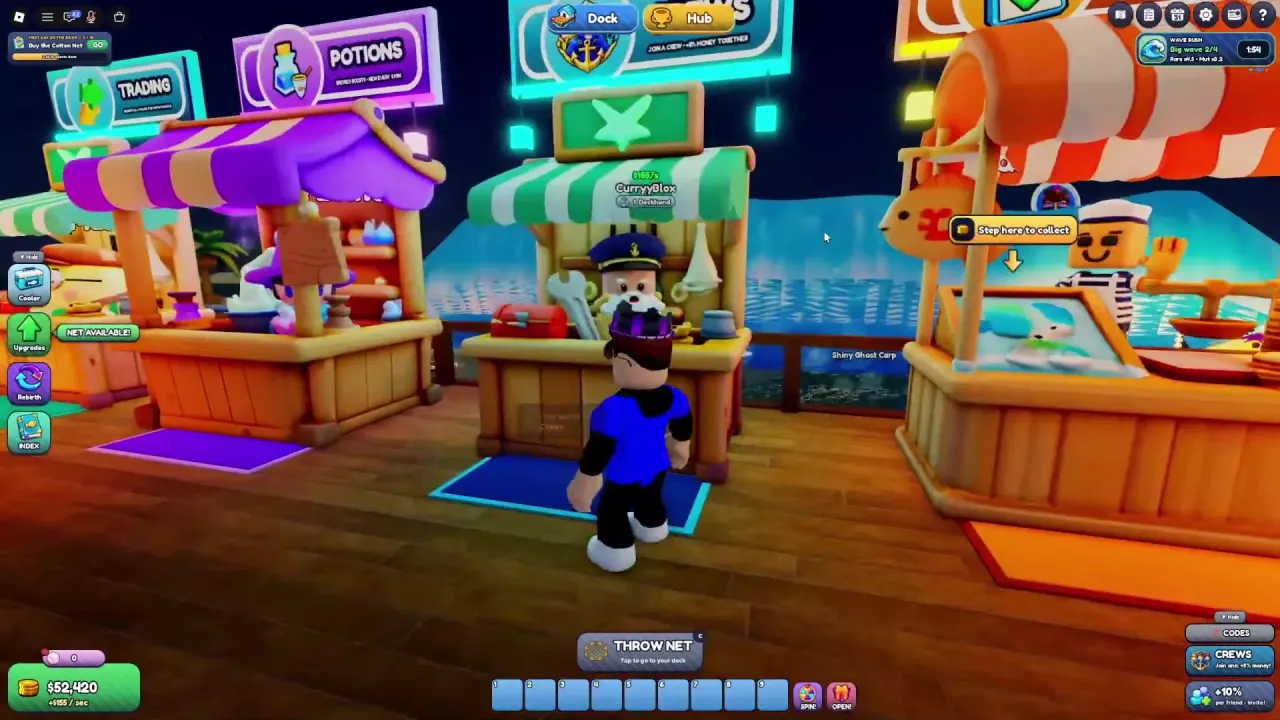
Use the Dock and Hub buttons at the top of the screen to travel. Dock returns you to your fishing base; Hub provides service stalls including Quests, Pearl Shop, Trading, Potions, and Crews. At the Quest Board, press E to open Quests.
A net already in the water can continue fishing during a Hub visit. Return to your own dock for the next cast; away from it, THROW NET can show Tap to go to your dock. Use the Dock and Hub location guide to find other facilities.
Find Net A Fish Dock and Hub facilities, travel between them, and unlock the Jungle Swamp and Frozen Glacier environments.
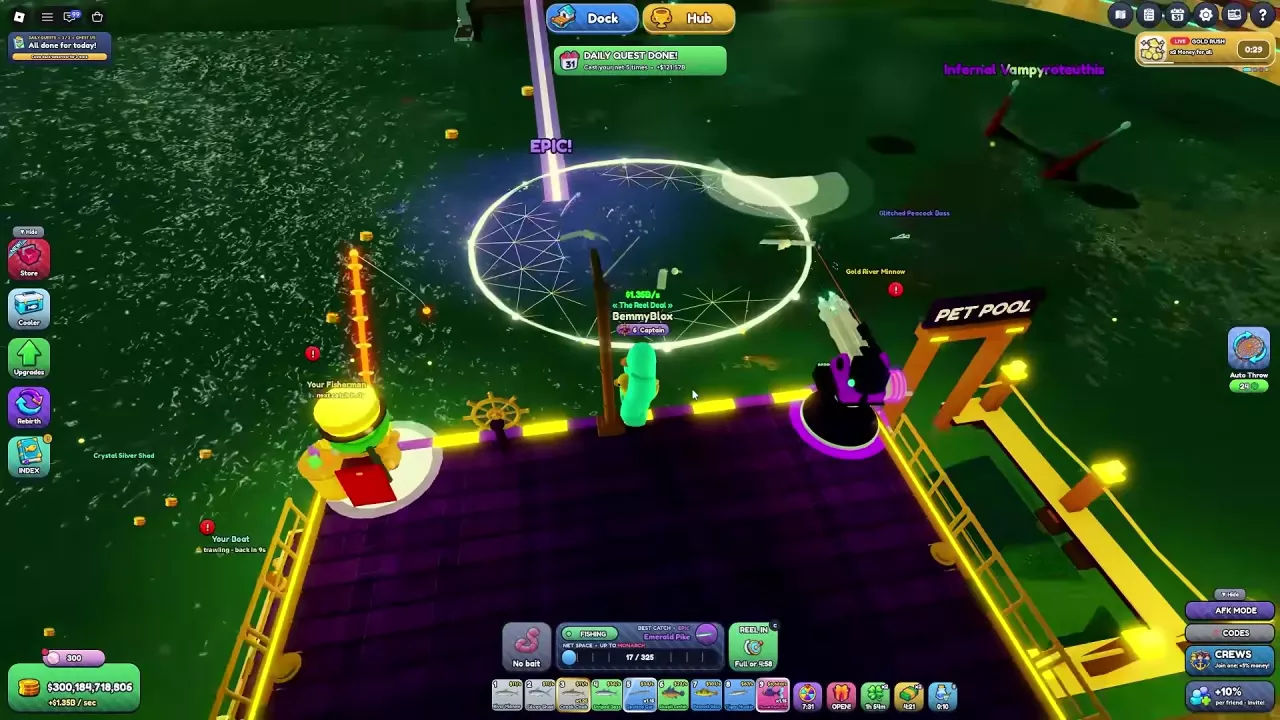
Complete Net A Fish daily quests, follow starter objectives and advance the Weekly chest. Compare Contracts and other reward activities.
Claim Net A Fish free rewards with the 30-minute Lucky Spin and playtime gifts, then join the group for a permanent showcase income bonus.
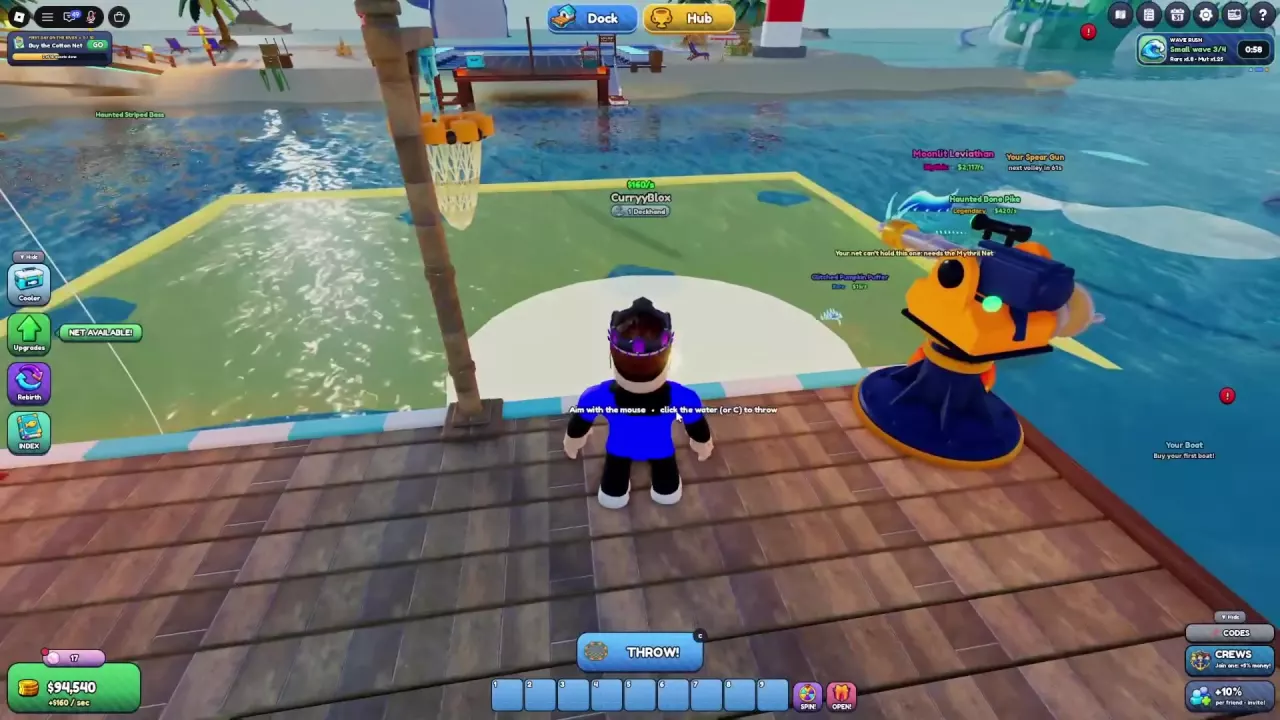
Learn Net A Fish controls, how to cast and reel in, what NET SPACE and UP TO mean, why fish escape, and which upgrades improve your catches.
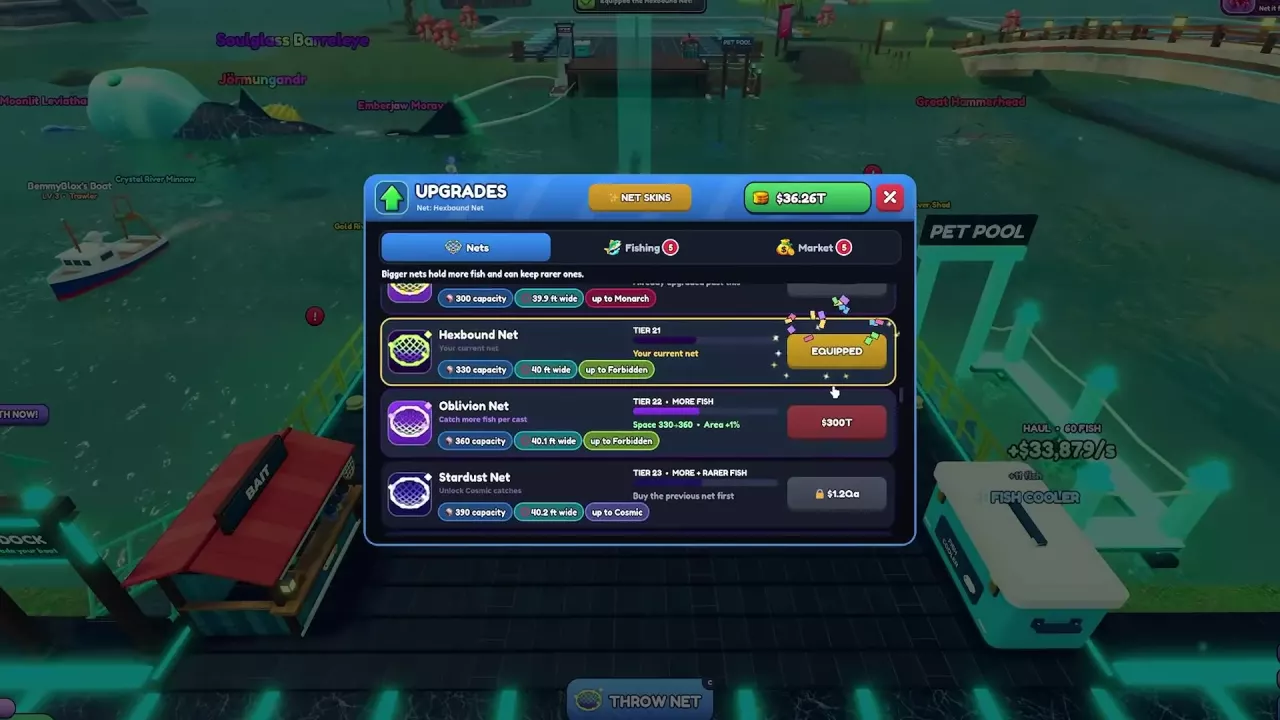
Compare all 48 Net A Fish nets, follow purchase requirements, plan rarity upgrades, and distinguish the Tier 17 and Tier 48 Ancient Nets.
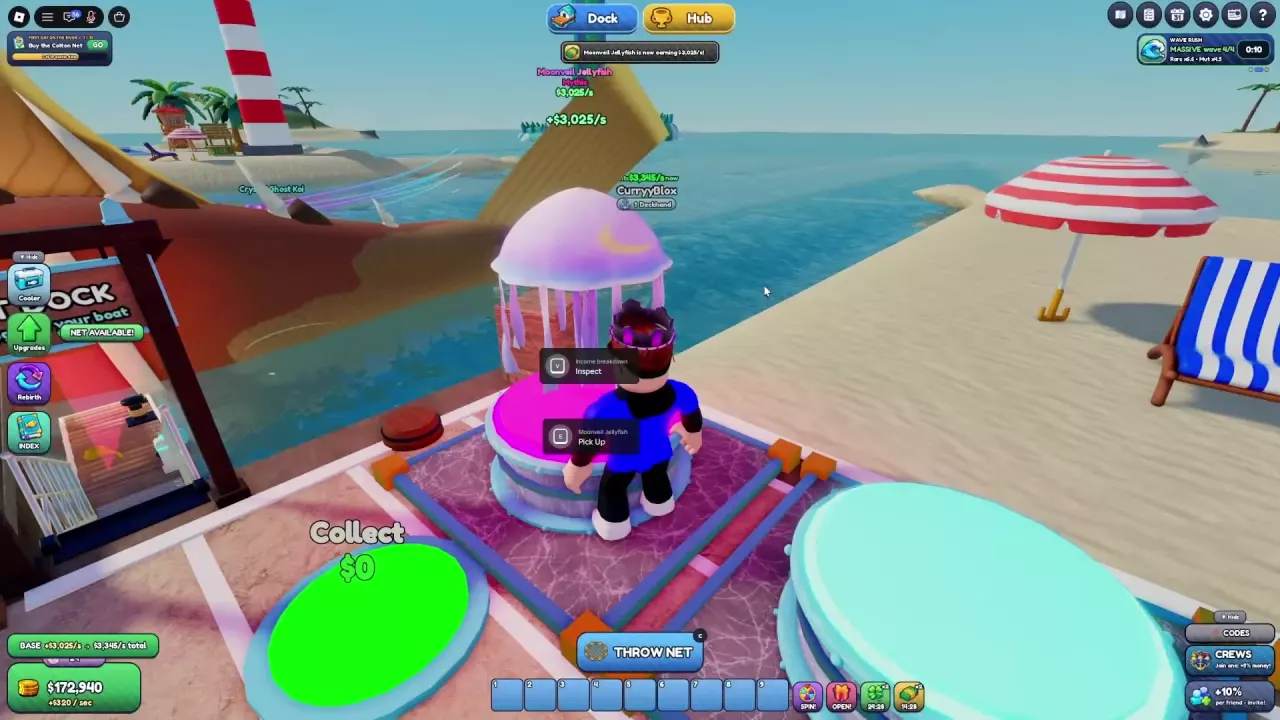
Make more money in Net A Fish: fill showcases, compare fish income, collect cash, and choose upgrades that improve active play and offline earnings.
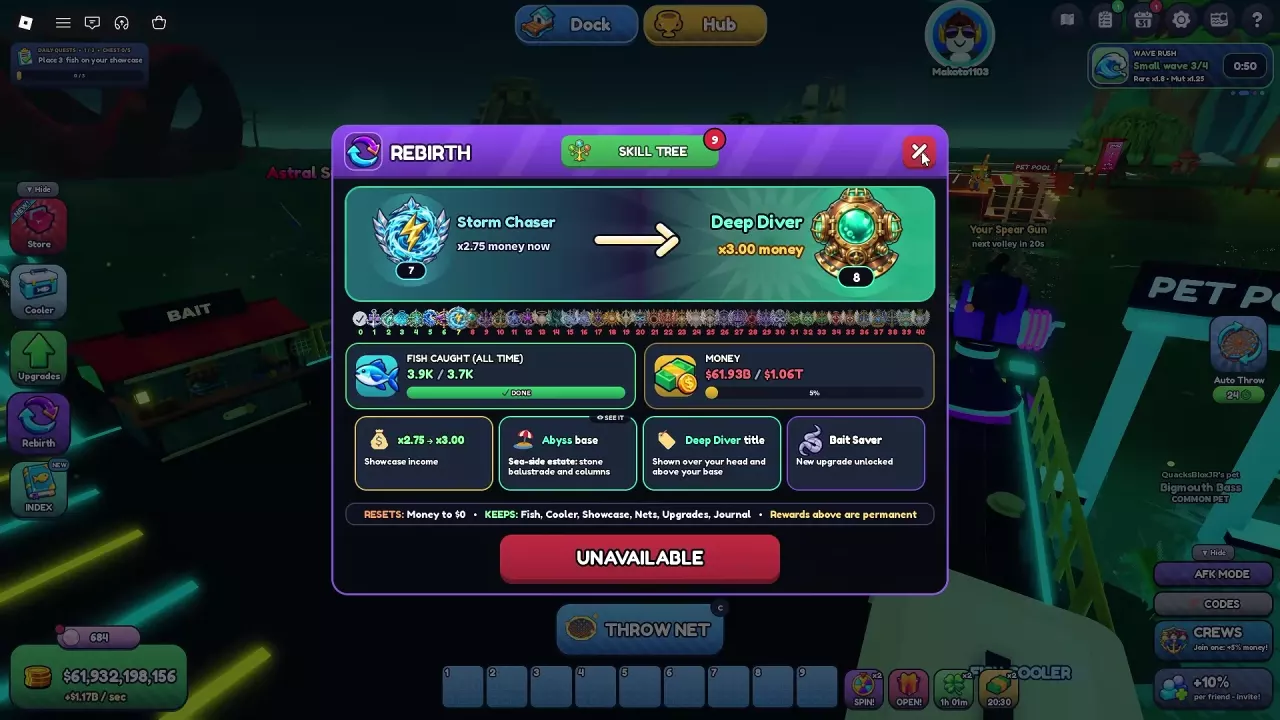
Find Net A Fish Rebirth requirements, permanent rewards and unlocks. Learn what resets, what you keep, and how to prepare your cash before confirming.
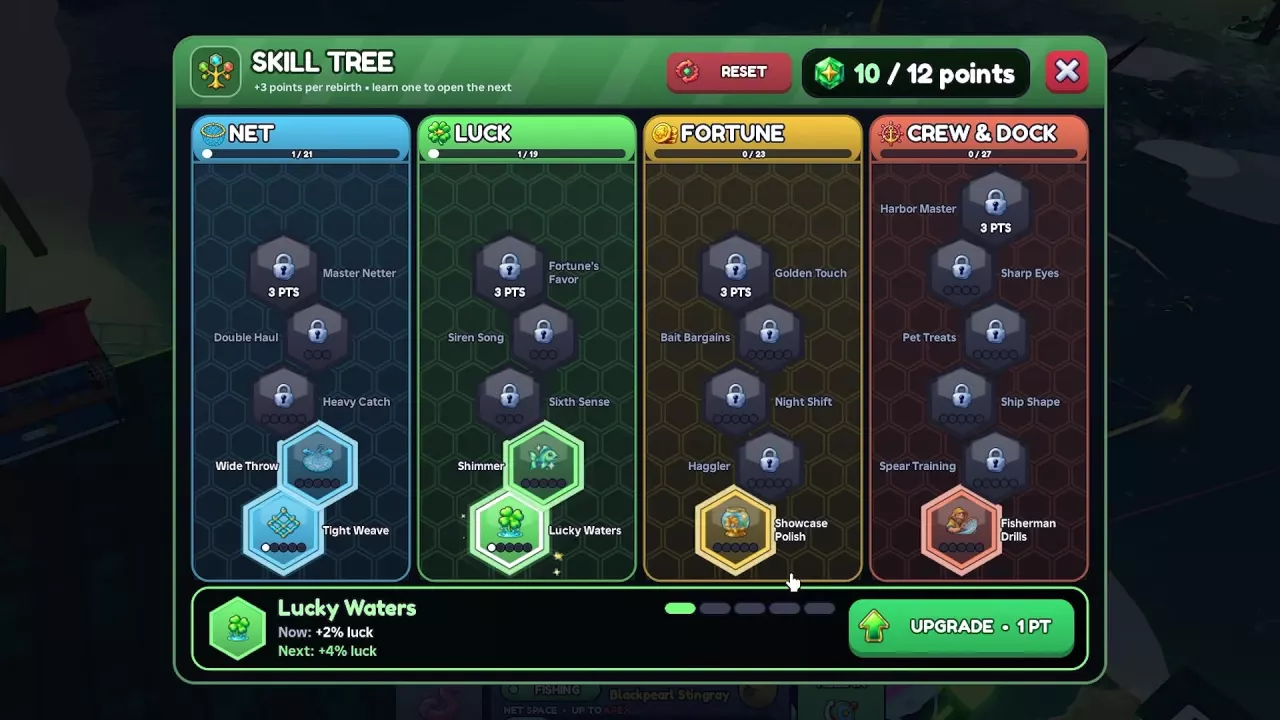
Choose Net A Fish skills for showcase income, mutations, net fishing and helper speed. Learn point costs, branch routes, prerequisites and build choices.
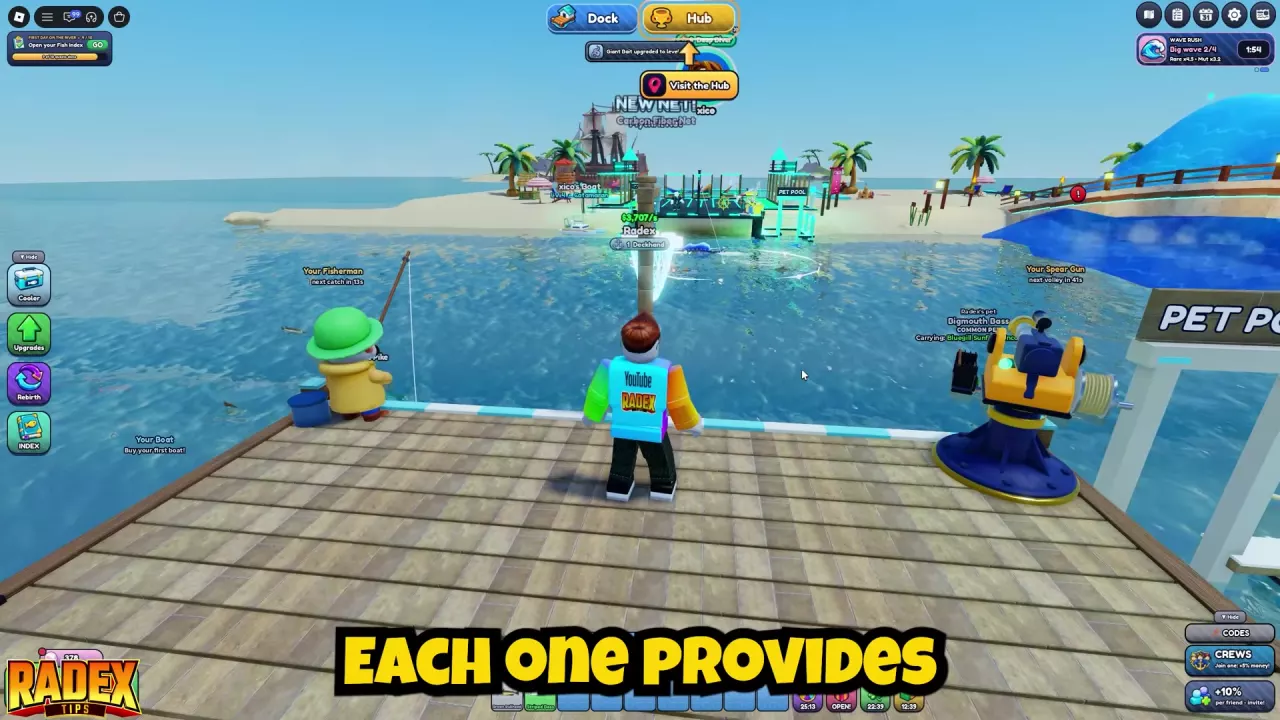
Compare Net A Fish helpers and build an online AFK setup with Auto Throw, pets, boats, and Auto-Sell settings that preserve your fusion materials.